

Codegen lets you configure custom setup commands that run once when initializing a repository’s sandbox environment. The resulting file system snapshot serves as the starting point for all future agent runs, ensuring consistency.Documentation Index
Fetch the complete documentation index at: https://docs.codegen.com/llms.txt
Use this file to discover all available pages before exploring further.
Base Image
Codegen sandboxes are built on a custom Docker image that provides a comprehensive development environment. For detailed information about the base image, including the complete Dockerfile and available tools, see the Base Image documentation.Accessing Setup Commands
To configure setup commands for a repository:- Navigate to codegen.com/repos.
- Click on the desired repository from the list.
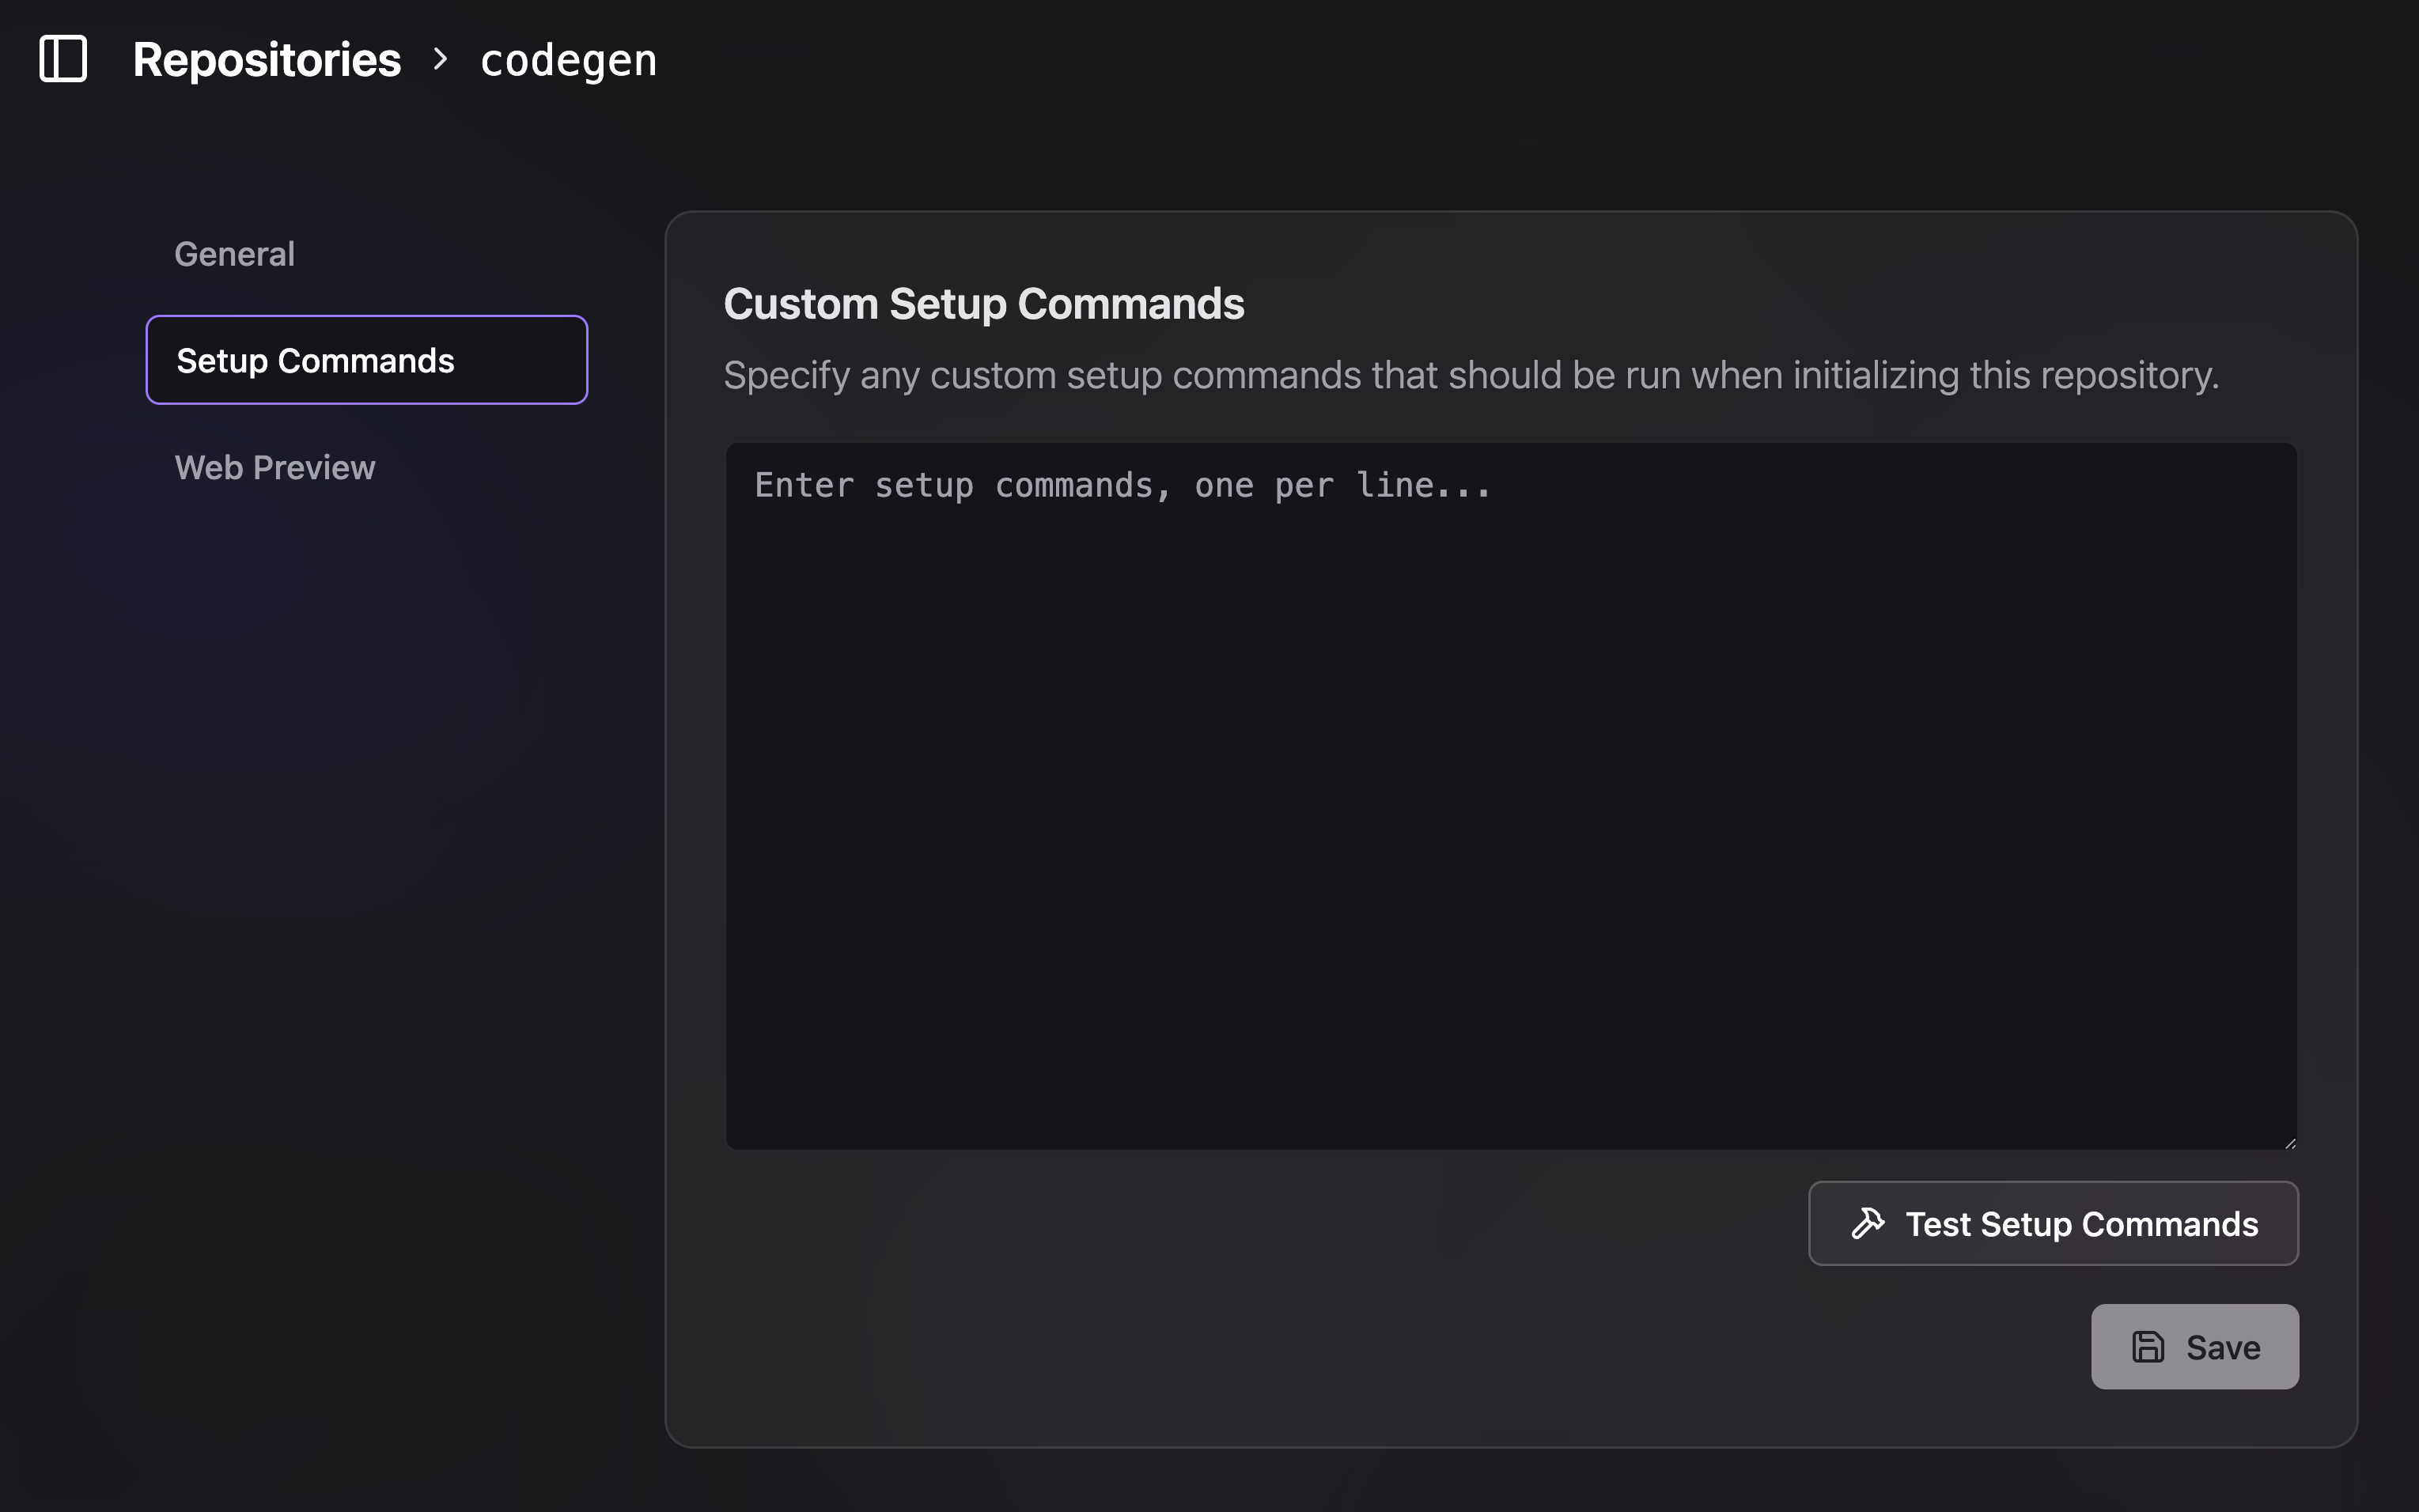
- You will be taken to the repository’s settings page. The setup commands can be found at a URL similar to
https://www.codegen.com/repos/{arepo_name}/setup-commands
How it Works
Enter your desired setup commands in the provided text area, with one command per line. These commands will be executed in sequence within the sandbox environment. For example, you might want to:- Switch to a specific Node.js version.
- Install project dependencies.
- Run any necessary build steps or pre-compilation tasks.
Common Examples
Here are a few common use cases for setup commands:Working with Different Python Versions
The sandbox comes with Python 3.13 by default, but some packages may not yet be compatible with this version. Here are strategies for handling different Python versions:Using pyenv for Multiple Python Versions
If you need to work with a different Python version, you can install and usepyenv:
Using uv with Specific Python Versions
Theuv package manager (already installed) can also manage Python versions:
Virtual Environment Best Practices
When working with packages that require older Python versions:Ensure your setup commands are non-interactive and can run to completion
without user input.